

Clean the surface, test a hidden spot, work in a thin layer of leather conditioner, let it absorb, then buff away the excess. That five-step sequence is the entire routine, and most damage happens when someone skips step one or two, or piles on far more product than the hide can actually drink.
Before you touch a jar of conditioner, know what you’re reaching for:
- Balanced cream conditioners for wallets, bags, jackets, and most finished leather. This is the safe default for nearly everything you own.
- Beeswax or lanolin balms for vegetable-tanned leather that sees rough use, like belts or work bags.
- Neatsfoot oil only for rescuing leather that’s gone stiff or cracked. Use it sparingly and rarely.
Skip the kitchen cabinet entirely. Olive oil, coconut oil, and petroleum jelly might feel like a clever shortcut, but they go rancid or oxidize inside the fibers, and the damage often doesn’t show up until months later.
Key Takeaways
Conditioning leather correctly comes down to cleaning first, testing always, applying thin layers, and conditioning only when the leather actually shows signs of dryness.
| Point | Details |
|---|---|
| Clean before conditioning | Remove dirt and residue first so conditioner absorbs instead of sealing grime underneath. |
| Always spot test | Try a hidden area and wait 10 to 30 minutes to check for permanent color change. |
| Apply thin, wait, reapply | Two light coats spaced apart control absorption better than one heavy application. |
| Match product to leather type | Use balanced creams for finished leather, oils only for rescue situations. |
| Condition on signs, not a fixed clock | Watch for papery texture and white flex lines rather than conditioning on autopilot. |
Table of Contents
- How to Condition Leather Step by Step
- Which Conditioner Works for Your Leather Type?
- How Often Should You Condition Leather?
- Common Leather Conditioning Mistakes to Avoid
- Fora Leonara’s Approach to Investment Leather Care
- Care for Pieces That Last: The Fora Leonara Standard
- Sources
- FAQ
How to Condition Leather Step by Step
Every leather good, from a card wallet to a full-grain jacket, follows the same procedure. What changes is timing and how much product you use.
1. Prep your workspace. Empty the item, remove any detachable straps or inserts, and lay it flat on a clean towel. You want good light so you can actually see the surface, not just guess at it.
2. Clean before you condition. Dirt and old residue block absorption, and if you condition over grime, you seal it into the leather permanently. Wipe down the surface with a slightly damp microfiber cloth, or use a pH-neutral leather cleaner if there’s visible buildup. Skip saddle soap unless the leather is heavily soiled work gear. It’s alkaline and can strip natural oils faster than it cleans. Let the piece dry completely before moving on. Conditioning wet or even slightly damp leather traps moisture under the new layer, which is exactly how mildew starts.
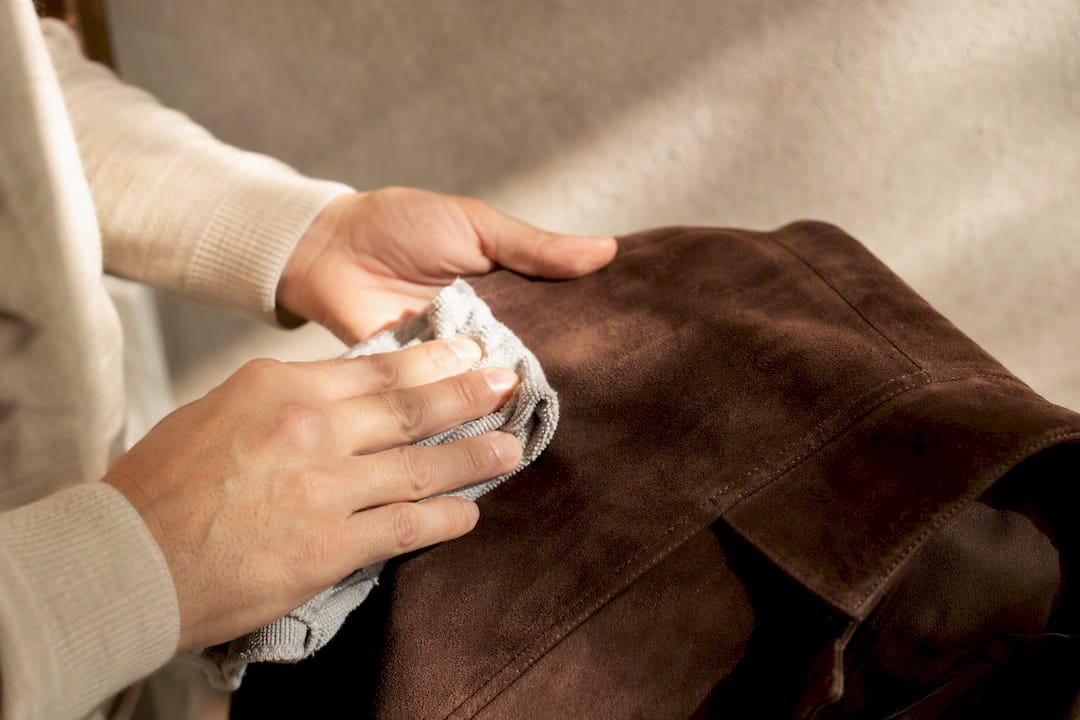
3. Spot test, every time. Pick a hidden panel, the inside of a wallet fold, the underside of a strap, and apply a tiny dab. Wait 10 to 30 minutes and check for color shift or a tacky finish. Some conditioners darken leather temporarily while they’re still wet, and the shade usually settles back close to normal once fully absorbed. But if the color change looks permanent or the surface starts lifting, stop and try a different product.
4. Apply sparingly, in thin layers. A pea to dime sized amount is plenty for most wallets and small goods; slightly more for a jacket panel or bag exterior. Warm the conditioner between your fingers first, then work it in with small circular motions. Concentrate on flex points, the spine of a wallet, the elbows of a jacket, the corners of a bag, since those areas dry out fastest and crack first. Two thin coats spaced apart beat one thick coat almost every time. A single heavy application oversaturates the fibers before you can judge how much the leather actually needed.
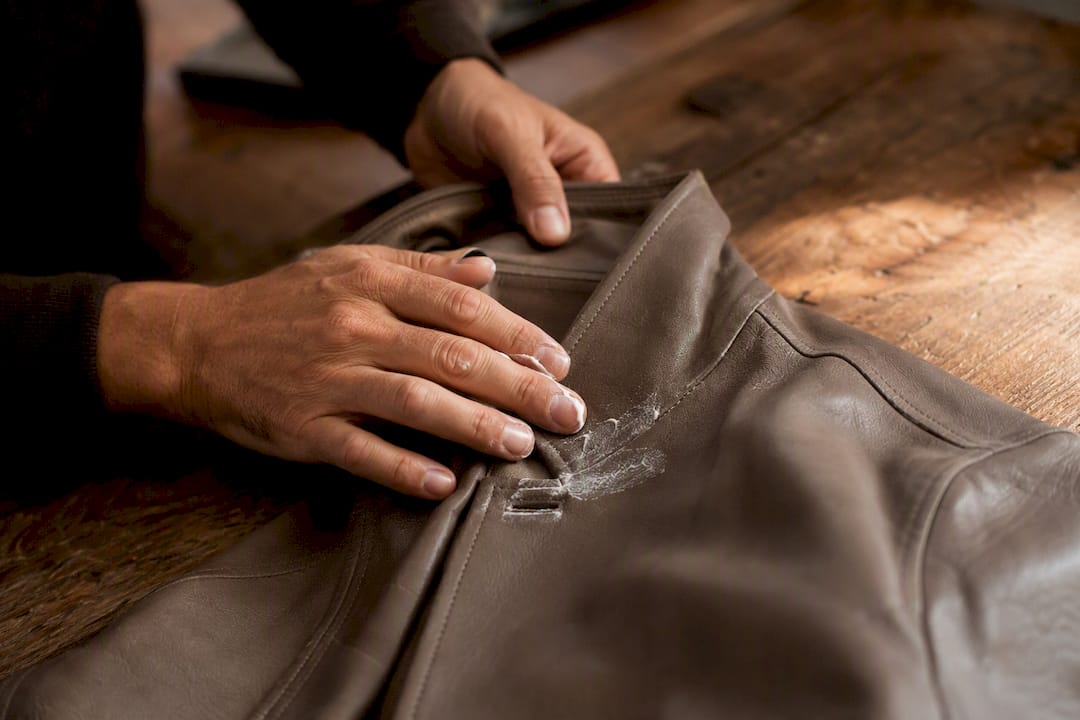
5. Let it absorb. Timing depends on how dry the leather was to begin with. A well-maintained wallet might only need 5 to 30 minutes; a neglected, papery piece can take 30 minutes to overnight. Keep it away from direct heat or sunlight while it absorbs. Heat pulls moisture out faster than the conditioner can replace it, which defeats the entire point. In humid conditions, absorption slows down, so give it extra time before you check.
6. Buff and assess. Once the surface stops feeling tacky, buff with a clean, dry microfiber cloth using light, even strokes. If the leather still looks thirsty, a faint matte patch that doesn’t hold a soft sheen, apply a second thin coat rather than doubling the first one. Two light passes give you far more control than guessing at one heavy dose.
Pro Tip: Keep two separate cloths on hand, one for cleaning and one strictly for buffing after conditioning. Cross-using them just redeposits the dirt and oil you already removed.
Which Conditioner Works for Your Leather Type?
Not every hide wants the same treatment, and guessing wrong is how good leather ends up blotchy or oversaturated. A few quick checks tell you what you’re actually working with.
Water-drop test: dab a small amount of water on an inconspicuous spot. If it beads up, the leather has a protective finish. If it soaks in fast, it’s likely unfinished or vegetable-tanned and will drink conditioner more aggressively.
Raking light check: angle a lamp across the surface at a low angle. Fine white stress lines that appear when you flex the leather are an early sign of oil and fiber depletion, long before cracking sets in.
Scent and feel: finished, chrome-tanned leather feels smooth and slightly cool; vegetable-tanned leather has a warmer, earthier smell and a drier hand-feel even when healthy.
Match the product to what you find:
- Finished or chrome-tanned leather (most wallets, bags, jackets): a balanced conditioner cream is the practical default.
- Vegetable-tanned leather (belts, some work bags): beeswax or lanolin balms suit the denser fiber structure.
- Cracked or severely dried leather: neatsfoot oil, used sparingly and only as a rescue, not a routine.
- Suede and nubuck: skip cream conditioners entirely. These need dry cleaning brushes and suede-specific protectant sprays instead.
Balanced cream conditioners remain the safer, more forgiving choice across nearly all modern finished leathers, which is why leather crafters and care specialists default to them over straight oils for anything but rescue work. Light-colored luxury goods deserve extra caution here. Mink oil and heavier greases tend to darken pale leather permanently, so a cream formulated for finished hides is the lower-risk route every time.
How Often Should You Condition Leather?
Leather tells you when it needs attention if you know what to look for. A surface that’s gone papery or dull, white stress lines along the fold when you flex it, or stiffness that doesn’t ease up with handling are all signs the fibers are running dry. Color that looks fine in normal light but doesn’t respond to a light rub is another tell.
As a general guideline, wallets are typically conditioned periodically based on use and environmental factors rather than on a strict time schedule.
- Jackets and bags: every 4 to 6 months, since they face more environmental exposure.
- Boots: seasonally, or every 3 to 6 months depending on how much walking they see.
- Leather furniture: every 6 to 12 months, adjusted upward in high-traffic households.
Climate shifts that schedule in both directions. Dry, low-humidity environments pull moisture out of leather faster, so shorten the interval. Humid climates need conditioning less often, but watch for trapped moisture and early mildew instead of assuming the leather is fine just because it feels soft.
Common Leather Conditioning Mistakes to Avoid
Most leather damage isn’t dramatic. It’s small, repeated errors that compound over a year or two.
- Conditioning over dirt. Grime gets sealed in and continues to abrade the surface from underneath.
- Reaching for kitchen oils. Olive oil and coconut oil go rancid inside the leather and can darken it unevenly and permanently.
- Using petroleum jelly. It oxidizes over time and leaves a residue that actually weakens the leather’s structure.
- Conditioning wet leather. Trapped moisture underneath a fresh coat is a near-guarantee of mildew.
- Over-conditioning. This is the most common mistake among well-meaning owners. Too much product too often causes fibers to go limp and stitching holes to stretch, and the leather loses its structure.
If you’ve overdone it, don’t panic — professional techniques for large leather items like car seats and sofas can help you safely restore condition and appearance; see our pro-tested guide for expert advice. Let the piece sit for a day or two, then buff aggressively with a clean, dry cloth to lift excess oil to the surface. Air it in moderate humidity, away from heat. If it’s still greasy after that, a gentle cleaning followed by a fresh spot test usually resets things. Water stains, mildew spots, or lingering odors call for a more targeted approach: safe air-drying away from direct heat, a leather-specific spot cleaner for isolated marks, and professional restoration once you’re dealing with actual structural damage rather than a surface issue.
Fora Leonara’s Approach to Investment Leather Care
Small leather goods built to last a decade or more don’t need aggressive treatment, they need restraint. Preserving structure matters more than chasing a glossy finish, particularly on pieces where the silhouette and the stitching are part of the value.
Fora Leonara recommends conservative, cream-based conditioning over heavy oils for anything in the small leather goods category, cardholders, billfolds, and slim accessories included. A few habits extend their life well beyond a standard care routine:
- Store cardholders and wallets with their natural shape supported, not folded flat under other objects.
- Avoid extremes of humidity. A closet that swings between damp and bone dry stresses leather faster than steady, moderate conditions do.
- Rotate use between pieces if you own more than one. Constant flexing in the same spot is what produces those early stress lines.
Pro Tip: If a piece shows real structural wear, stretched stitching, a warped edge, deep creasing that doesn’t relax, treat it as a restoration case rather than a conditioning fix. Piling on more product won’t rebuild fiber structure that’s already broken down.
For readers curious about how construction affects long-term care, the Fora Leonara Journal’s piece on quiet luxury leather goods goes deeper into why materiality and tanning method shape how a piece ages.
Care for Pieces That Last: The Fora Leonara Standard
Fora Leonara builds small leather goods in its own European atelier specifically so they can withstand this kind of conservative, long-term care rather than needing constant intervention. If you’re looking to add a piece designed to age well with minimal upkeep, the Timeless Elegance collection reflects that same philosophy, materials chosen for durability first, with a finish that responds well to the routine outlined above. Browse the full range of accessories or explore ready-to-wear pieces built on the same standard: quiet construction, no logos, made to hold up under real use.
Sources
- How To Condition Leather? – Pecard Leather Care Company
- How to Condition a Leather Wallet step-by-step guide
- Conditioning Leather: Best Products and Technique
- Leather Wallet Care: What Actually Works | Old Town Leather Goods
FAQ
What are the signs leather needs conditioning?
Look for a papery or dull surface, white stress lines when you flex the leather, and stiffness that doesn’t ease with handling. Color that no longer responds to light rubbing is another early signal.
How do you moisturize extremely dry or cracked leather?
Clean it gently first, then apply a small amount of neatsfoot oil or a rescue-grade conditioner in thin layers, letting each coat absorb fully, sometimes overnight, before deciding if a second application is needed.
Are you supposed to moisturize leather regularly?
Yes, but only when it shows actual signs of dryness rather than on a rigid fixed schedule. Most items need attention every 4 to 12 months depending on use and climate, and over-conditioning causes more harm than skipping a cycle.
Can I use olive oil or coconut oil to condition leather?
No. Both can go rancid inside the fibers and cause unpredictable, sometimes permanent darkening, which is why leather specialists recommend leather-specific creams instead.
How long should conditioner absorb before buffing?
Absorption typically takes 5 to 30 minutes for lightly dry leather and up to overnight for severely dried pieces. Buff only once the surface no longer feels tacky to the touch.
